Why Inbox Icons Matter
Having your company logo or personal photo appear in recipients’ inboxes offers several important advantages:Enhanced brand recognition
Visual identifiers help your emails stand out in crowded inboxes, creating immediate recognition even before recipients open your messages
Higher open rates
Emails with recognizable logos or photos can increase open rates by up to 21%, significantly improving campaign performance
Improved trust
Recipients feel more confident about email legitimacy when they can see a familiar logo or face, reducing concerns about potential phishing attempts
Professional appearance
A consistent visual identity across all communications presents a more polished, professional brand experience
Setup Options
There are two primary ways to add your logo or photo to emails, varying in complexity and coverage:- Email Client Setup (Easy)
- BIMI (Advanced)
This approach lets you add icons to individual email providers by setting up profiles, with support for both company logos and personal photos/headshots.
Advantages of email client setup:
- Supports both personal photos and company logos
- No additional costs beyond basic accounts
- Simple setup process with minimal technical skill
Gmail
Gmail
- Log in to the Google/Gmail account associated with your sending address
- Click your profile icon in the top-right corner
- Click “Manage your Google Account”
- Select “Personal info” from the left menu
- Under “Profile,” click on your profile picture
- Upload your logo or photo
- Click “Set as profile photo”
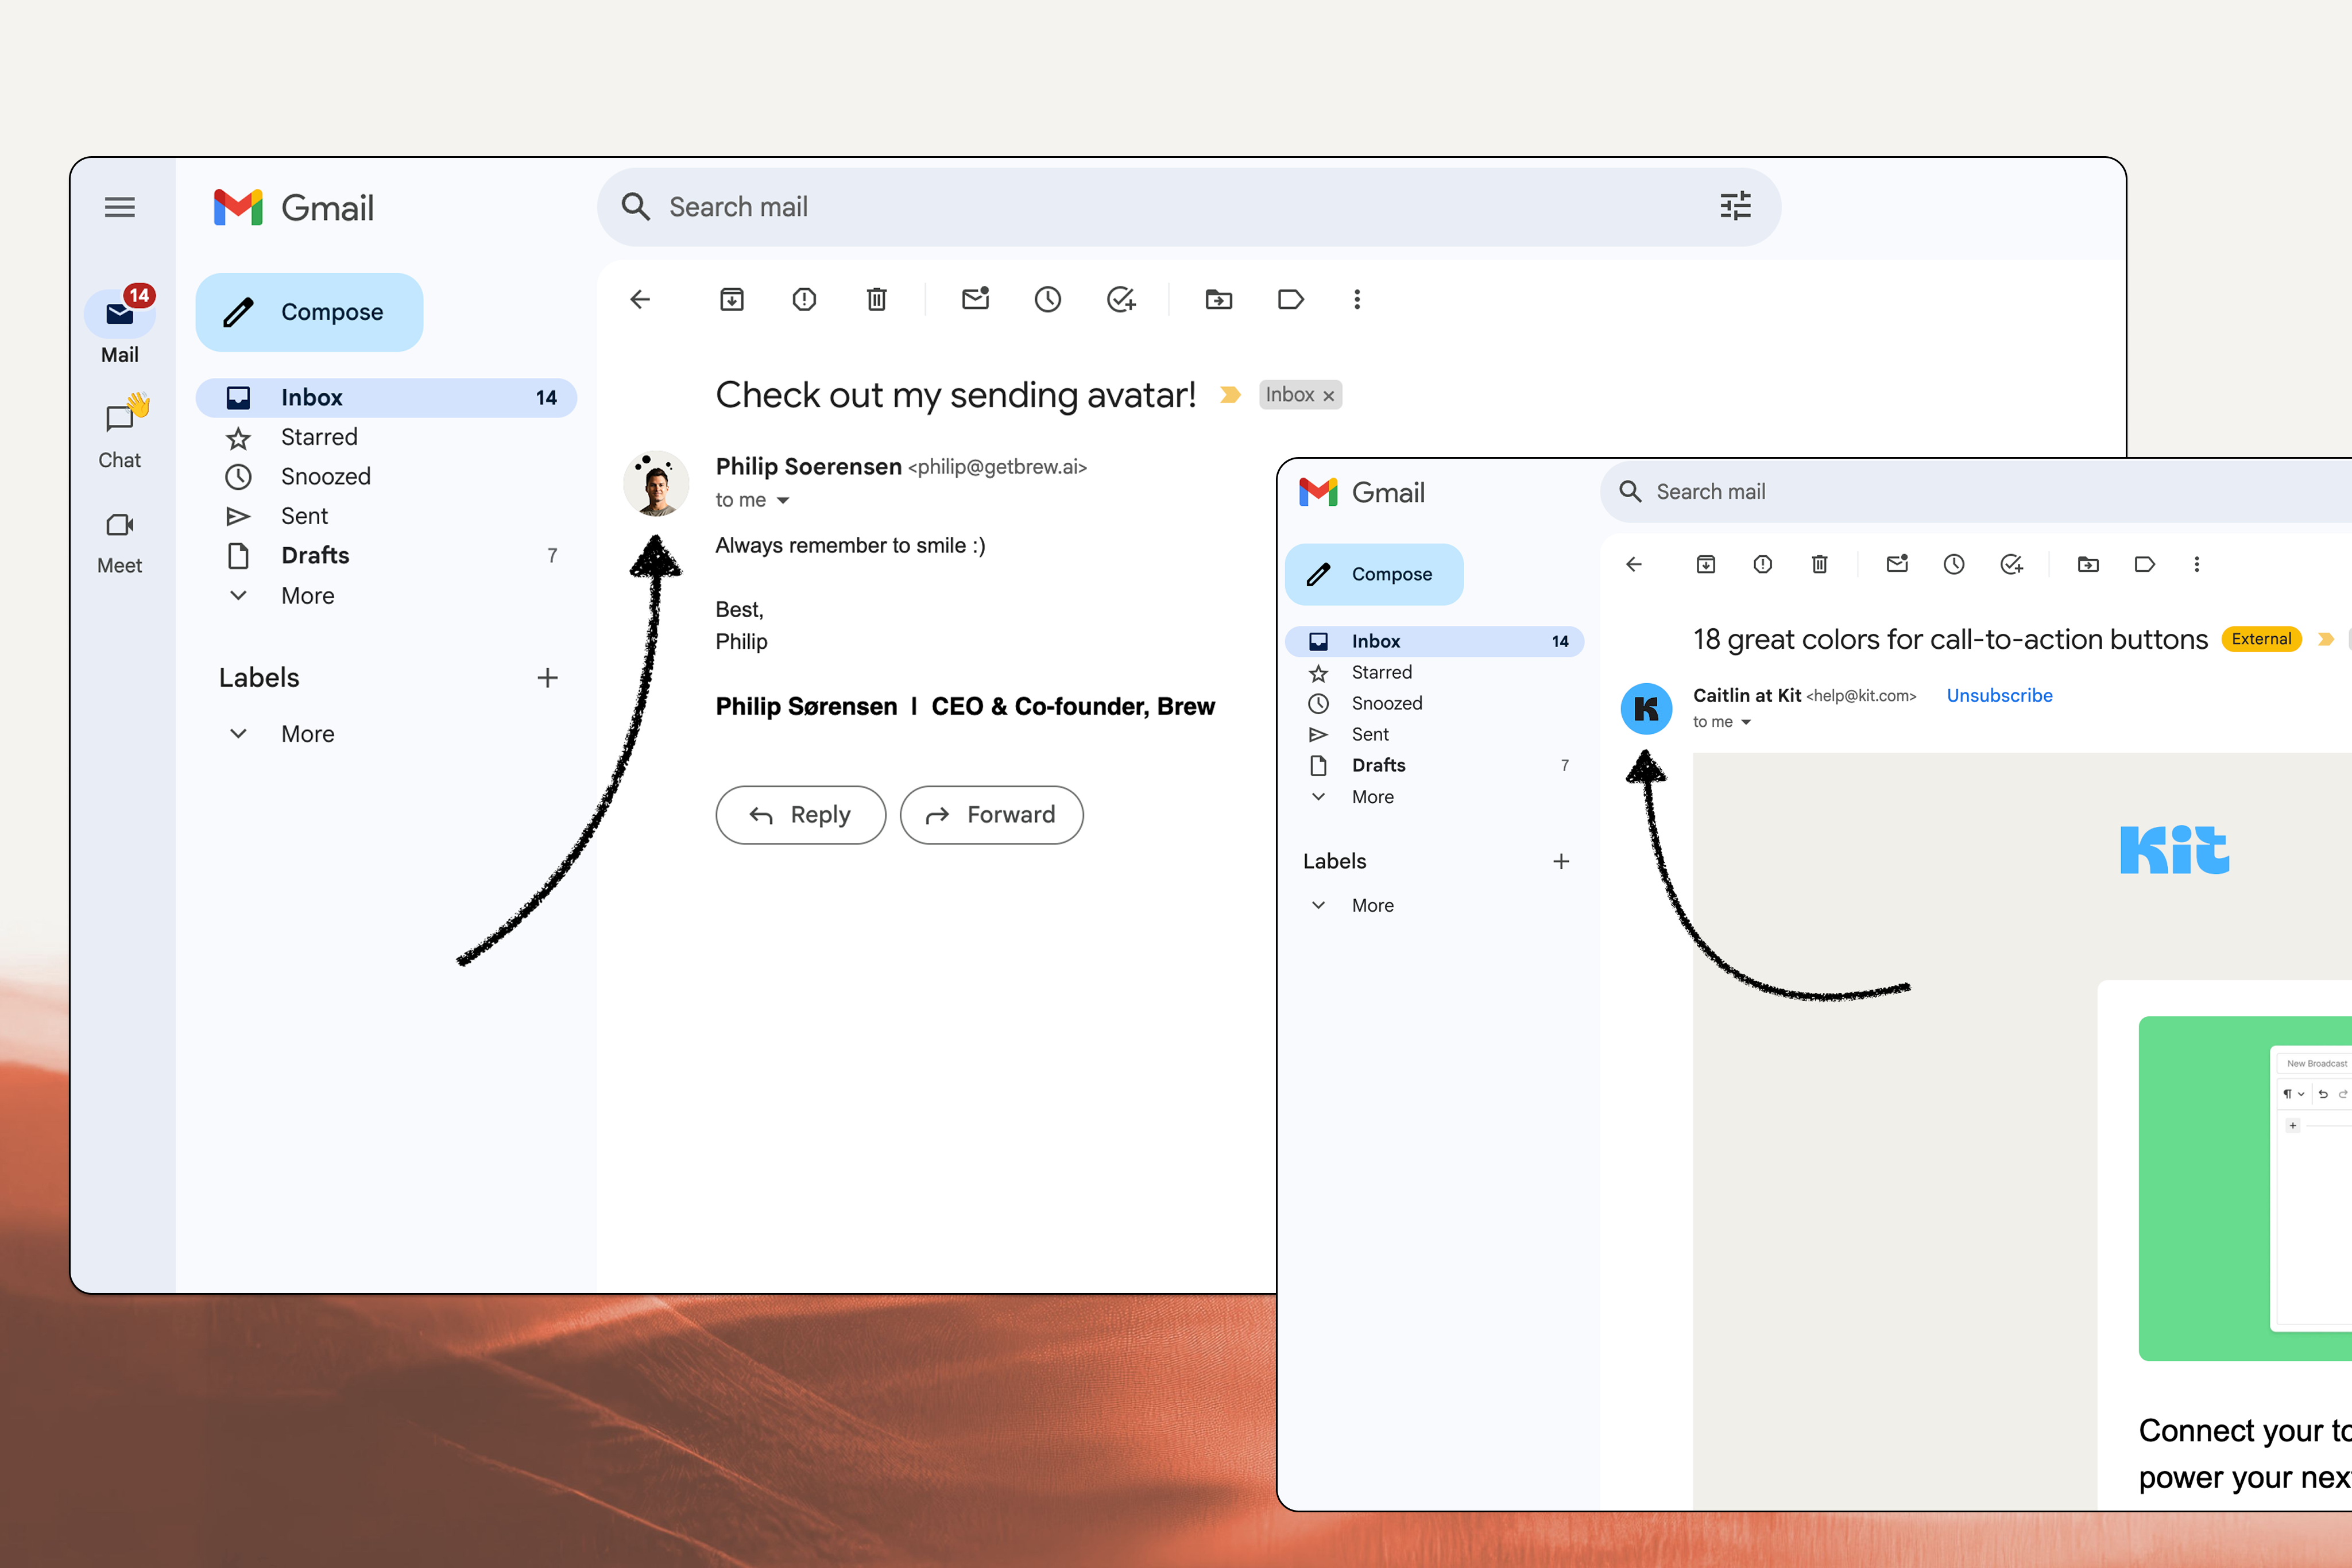
Gmail displays icons in the mobile app (including push notifications) and inside opened emails on desktop, but not in the inbox list view on desktop.
Apple Mail
Apple Mail
Apple Branded Mail lets you display your logo as an avatar in Apple Mail inboxes on supported devices (iOS, iPadOS, macOS). This increases brand recognition and trust for recipients using Apple Mail.
Apple Branded Mail only works in Apple Mail on recent iOS, iPadOS, and macOS versions. Your logo will not show in other mail clients or older Apple Mail versions.
Prerequisites
- Create an Apple Business Connect account (Sign up here)
- Make sure your DNS records are set up - specifically DMARC, which is a requirement for Apple Branded Mail to work. This is part of your Brew onboarding and ensures your emails are authenticated and protected
- Have a company identification number for Apple to verify your company
Configure DMARC (part of your DNS records)
- DMARC is an email authentication record that helps protect your brand and is required for Apple Branded Mail
- If you followed Brew’s domain verification guide, you already have DMARC set up
- You may need to update your DMARC policy to
p=quarantine;orp=reject;andpct=100. This is a quick and simple change in your DNS settings. If you’re unsure how to do this, just reach out to us or ask your IT team - we’re happy to help - Example DMARC record:
v=DMARC1; p=quarantine; pct=100; rua=mailto:dmarcreports@example.com
Add your company and brand details
- After creating your Apple Business Connect account, enter your company address, name, and other required details
- In Business Connect, select the Branded Mail option in the sidebar
- Add your brand name and website
Upload your logo
- Apple requires the logo to be at least 1024 x 1024 px in
.png,.heif, or.jpegformat - Upload your logo in the Branded Mail section
Add your domain(s)
- Specify the domains or email addresses where you want your logo to appear
- You can register your logo for your root domain or a subdomain. If you don’t set a specific logo for a subdomain, the root domain logo will automatically display for any email sent from your subdomains
- For more on choosing between root and subdomains, see our domain verification guide. Make sure your choice matches how you send emails from Brew
Verify your company
- Provide your company identification number (e.g., Federal Taxpayer ID in the US, local equivalent elsewhere)
- Apple will prompt you to add a DNS record to verify you control your domain. Follow their instructions to complete this step
This only works with commercial domains (not gmail.com, etc.) and requires that you’ve properly set up your domain’s DNS records, which you’ve already done if you completed Brew’s domain verification.
Outlook
Outlook
- Log in to your Outlook account
- Click your profile icon in the top-right corner
- Select “My profile” or “View account”
- Click on “Edit profile”
- Upload your logo or photo
- Save changes
Outlook primarily displays icons in the mobile app and inside opened emails on desktop.
Yahoo
Yahoo
- Log in to your Yahoo account
- Click your profile icon
- Select “Account info”
- Navigate to “Personal info”
- Click on your profile image
- Upload your logo or photo
- Save changes
Yahoo Mail offers more comprehensive icon support, displaying them in both the message list and message view.
Gravatar
Gravatar
Gravatar is used by several email clients including Thunderbird, Airmail, and Postbox:
- Go to Gravatar.com
- Create an account or log in
- Add your brand logo or photo
- Verify the email addresses you’re sending from
- Your icon will now display in clients that use Gravatar
Need Help?
Our team is ready to support you at every step of your journey with Brew. Choose the option that works best for you:- Self-Service Tools
- Talk to Our Team
Search Documentation
Type in the “Ask any question” search bar at the top left to instantly find relevant documentation pages.
ChatGPT/Claude Integration
Click “Open in ChatGPT” at the top right of any page to analyze documentation with ChatGPT or Claude for deeper insights.