Setting up your sending domain and adding DNS records grants Brew permission to send emails on your behalf. This ensures emails sent through Brew appear in your customers’ inboxes as coming from you, building trust and improving deliverability. It’s a crucial step in keeping your emails out of spam folders.
Using Brew requires a business domain. Emails will always come from your own domain. You cannot send emails through Brew until you have set your sending domain and added the DNS records.
How to Set Your Sending Domain
You set your sending domain in Settings. Follow the steps below.Configure your domain
Go to Settings → Domain in the left navigation menu. Enter your domain in the “Sending domain” field (without the https:// prefix).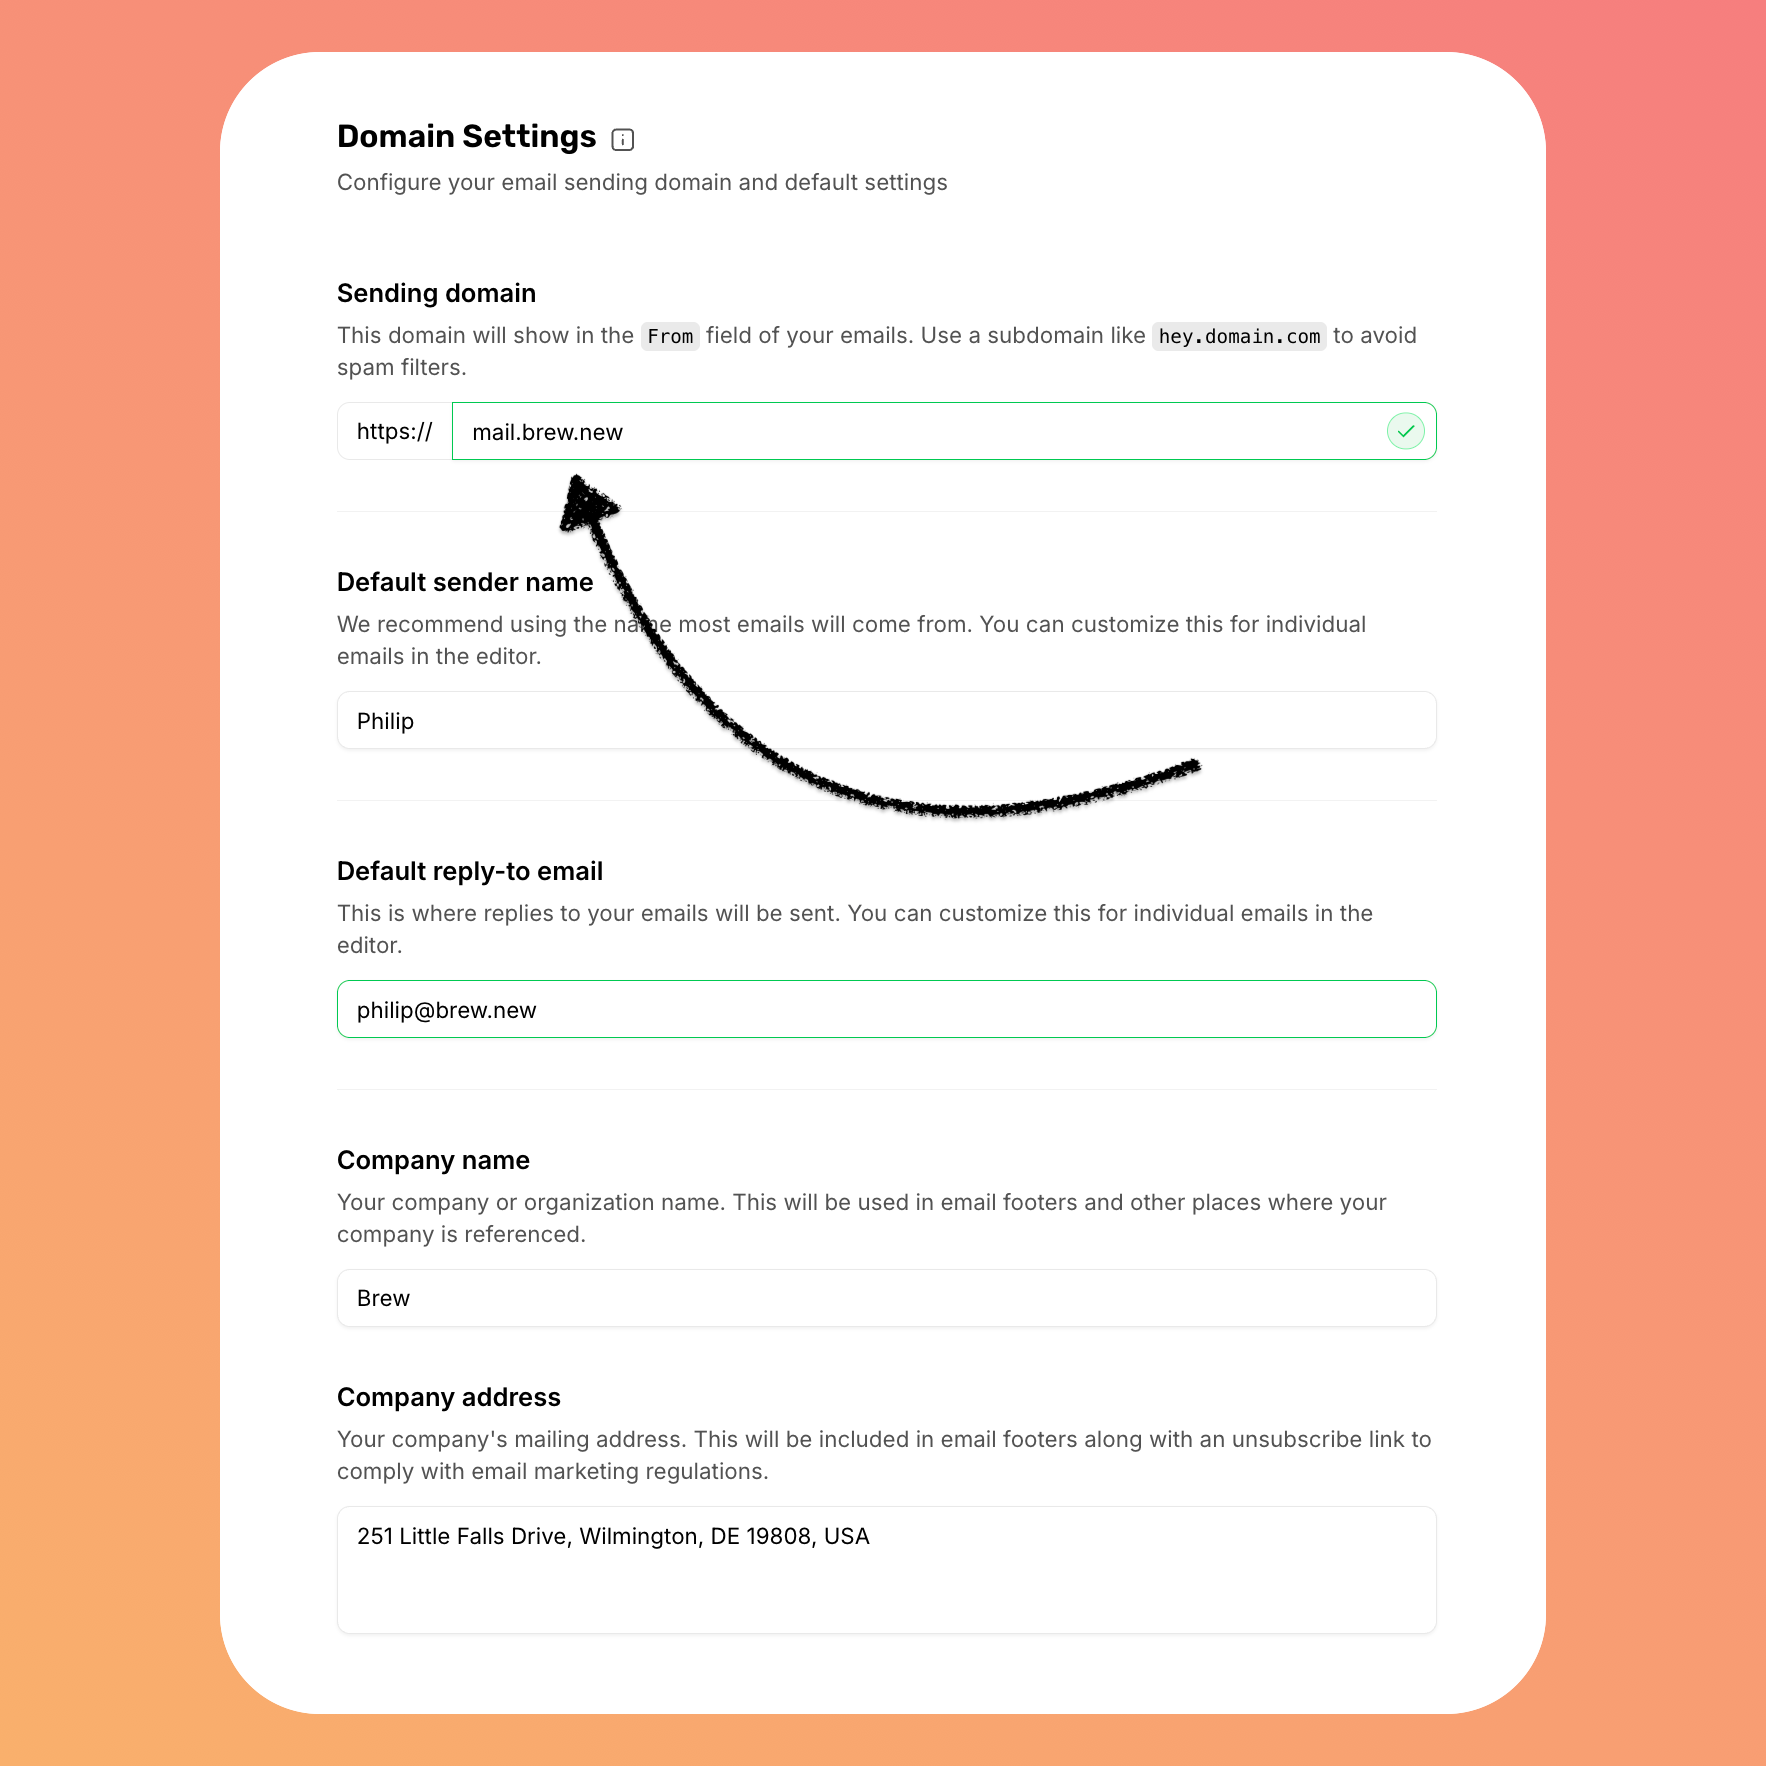
From field of your emails. We recommend using a subdomain like mail.domain.com to avoid spam filters. Learn why subdomains are recommended.Brew protects verified domains from unauthorized use. If someone in your organization has already set up this domain with Brew, you’ll need to be added as a team member to that account rather than creating a duplicate setup.
Add DNS Records
After setting your domain, you’ll need to add DNS records to verify ownership and enable authentication.
Any changes to your domain (switching subdomains, changing DNS providers, or changing domains entirely) will require repeating the DNS verification process.
Additional Email Settings
While setting up your domain, you’ll also see these important settings on the same page. Brew automatically extracts this information from your domain during sign-up, but you should verify it’s correct.Default Sender Name
The default sender name will appear alongside your email address in recipients’ inboxes. We recommend using a real name to build a genuine connection with your audience. This name will be used for email generation, but you can always change it directly in the editor for specific emails.Default Reply-To Email
The default reply-to email is where replies to your emails will be sent. You can customize this for individual emails in the editor. Learn why we recommend using a real reply address.Company Name
Your company or organization name will be used throughout Brew for email generation, in email footers, and other places where your business identity is displayed.Company Address
Your company’s mailing address will be included in email footers along with an unsubscribe link to comply with email marketing regulations. It is your responsibility to ensure that this field is correct.Best Practices for Your Domain
Now that you’ve set your sending domain, here are key strategies to maximize its effectiveness and build trust with recipients:Use a subdomain (recommended)
Use a subdomain (recommended)
Why this matters: Most Email Service Providers (including Brew) strongly recommend sending from subdomains rather than root domains for better deliverability and domain protection.Benefits of using subdomains:
- Improves deliverability rates
- Makes it easier to configure authentication
- Protects your main domain’s reputation
- Creates more recognizable sender addresses
- Provides reputation isolation: If deliverability issues occur with one subdomain (like a compromised form sending to invalid addresses or a campaign being flagged as spam), you can quarantine that subdomain while keeping your root domain’s reputation intact. This isolation strategy makes recovery much faster compared to damaging your root domain’s reputation.
mail.yourdomain.comupdates.yourdomain.comnews.yourdomain.com
Choose a real reply address, never 'no-reply'
Choose a real reply address, never 'no-reply'
Why this matters: Your sender address affects both trust and deliverability. “No-reply” addresses signal one-way communication, while real addresses encourage engagement.Strategy:
- Use addresses like
hello@company.com,support@company.com, orteam@company.com - Make sure someone monitors and responds to emails sent to this address
- Consider descriptive addresses that match your email content
hello@apple.comsupport@apple.comteam@apple.com
no-reply@apple.comdonotreply@apple.comnoreply@apple.com
Align your email links with your sending domain
Align your email links with your sending domain
Why this matters: When your email links point to the same domain you’re sending from, it builds trust and improves deliverability. Mismatched domains can trigger spam filters.Strategy:
- If sending from a subdomain like
mail.yourdomain.com, ensure your email links point to either your root domainhttps://yourdomain.comor related subdomains - Host your landing pages and key content on your own domain
- Avoid using link shorteners like
bit.lyin marketing emails
- Sending from
hello@mail.apple.comwith links tohttps://apple.com/products - Sending from
support@mail.apple.comwith links tohttps://support.apple.com
- Sending from
hello@mail.apple.comwith links tohttps://randomdomain.com/signup - Using
bit.lyor other third-party link shorteners
Domain FAQ
Can I change my sending domain later?
Can I change my sending domain later?
Yes, you can change your sending domain at any time through the Settings → Domain page. However, you’ll need to complete the DNS verification process again for the new domain.If you change your sending domain, we recommend completing the domain warm-up process again to ensure your emails are delivered reliably.
Why does it say my domain is already in use?
Why does it say my domain is already in use?
If you see the error “This domain or one of its subdomains/parents is already in use by another account,” it means another Brew account has already verified ownership of this domain or a related domain.How domain protection works:
- Once a domain is verified by an account, it becomes protected from use by other accounts
- This includes the domain itself and all its subdomains
- For example, if
company.comis verified, no other account can usecompany.com,mail.company.com, or any other subdomain
- If this is your company’s domain: Contact your team to find out who set up the original Brew account
- If you need access: The domain owner can invite you as a team member to their Brew account
- If there’s an error: Contact support@brew.new with proof of domain ownership
What if I don't own a domain?
What if I don't own a domain?
To use Brew effectively, you must have a domain that you own. If you don’t have one yet, we recommend purchasing one through a domain registrar like GoDaddy, Namecheap, or Google Domains before continuing with setup.
Need Help?
Our team is ready to support you at every step of your journey with Brew. Choose the option that works best for you:- Self-Service Tools
- Talk to Our Team
Search Documentation
Type in the “Ask any question” search bar at the top left to instantly find relevant documentation pages.
ChatGPT/Claude Integration
Click “Open in ChatGPT” at the top right of any page to analyze documentation with ChatGPT or Claude for deeper insights.