

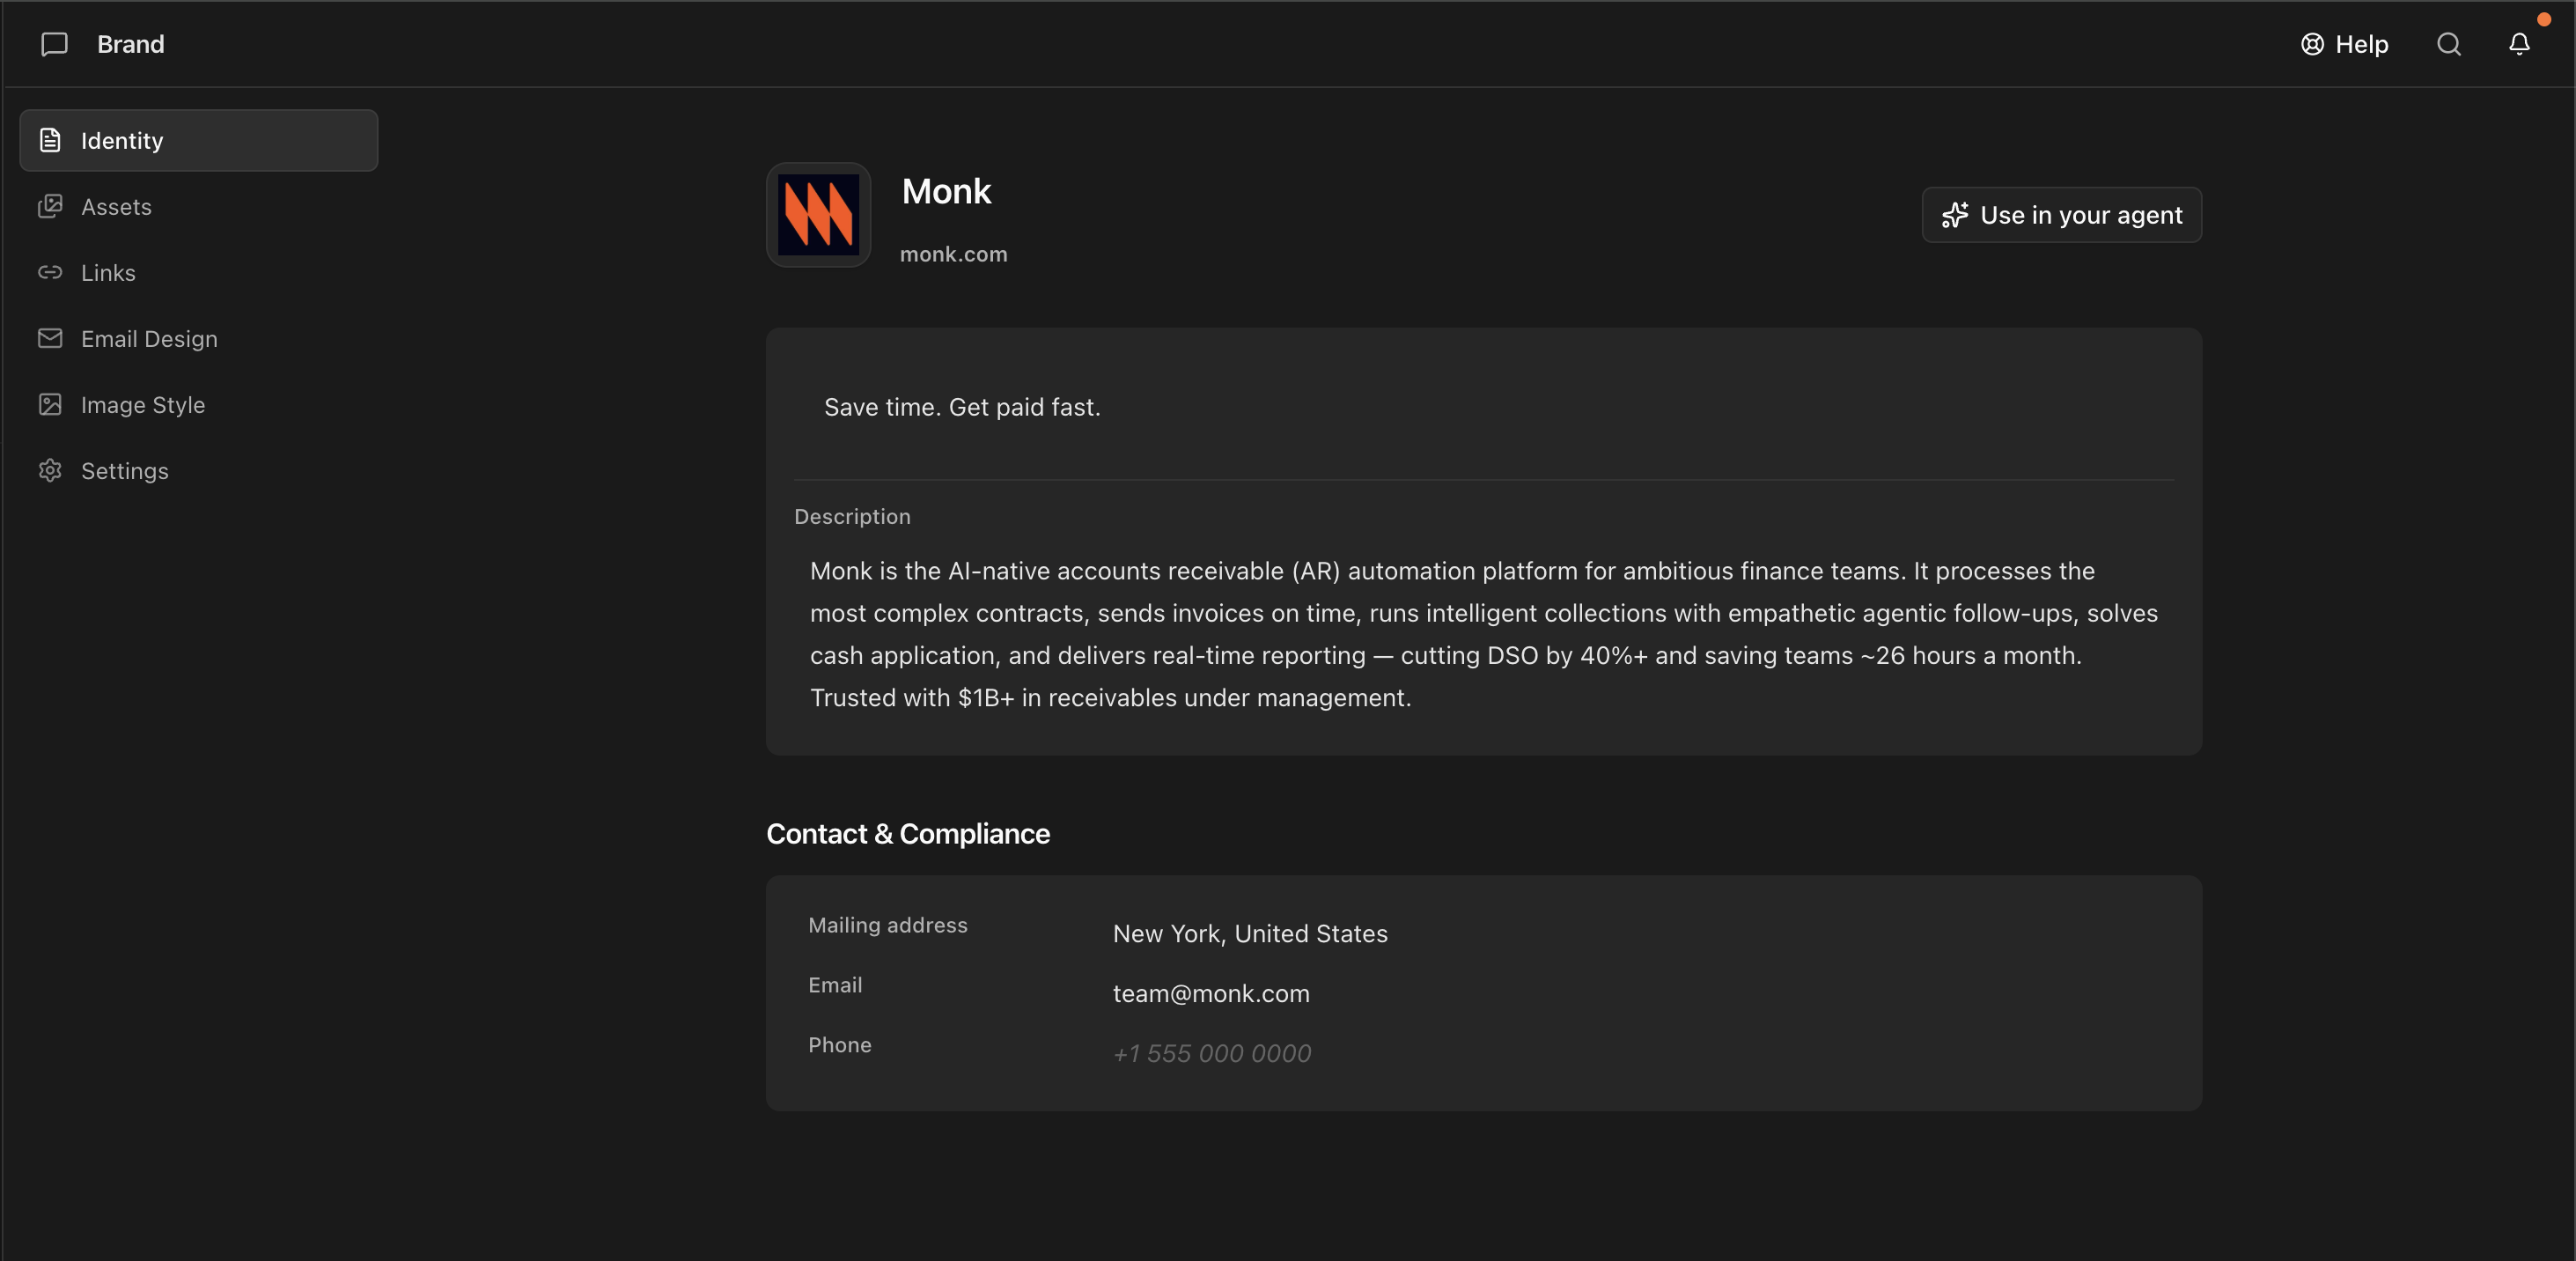
Every value here flows into every email Brew generates. You don’t set them again per email.
Identity
Who the brand is, in the words Brew reuses everywhere.- Brand name, domain, and tagline appear in headers and footers.
- Description. The short story of what you do and why it matters. Brew references it for openings and CTAs.
- Contact and compliance. Your mailing address, contact email, and phone number. The mailing address appears in the footer of every marketing email (required by CAN-SPAM).
Assets
The visual files Brew pulls from, in two sections you can add to anytime.- Logo system. Your brand icon and full logo, pinned above the image library and always accessible to Brew. Click Upload to replace either or add new versions.
- Image library. Hero shots, product screenshots, and photography Brew can use directly in emails. Upload adds more; extraction seeds the library from your site, but it grows however you feed it.
Links
The URLs that appear in your footer or get used as source material.- Footer icon style. How social icons render in your emails: Colored, Monochrome, or Outline.
- Social profiles. Click Add profile and pick from the platform list (LinkedIn, X, Instagram, Facebook, GitHub, TikTok, Discord, and more), then paste the URL. Brew renders each as an icon in the footer. Platforms you’ve already added are greyed out in the picker.
- Content sources. The pages Brew reads when generating email copy and strategy: blog posts, product pages, customer stories, launch pages. Click Add source, pick a category (Blog, Docs, Customers, Changelog, Press, Content), and paste the URL. Edit or delete any source to stop Brew pulling from it.
Email Design
Renders your brand’semail-design.md: brand essence, signature moves, the color system, typography, and your voice and standing instructions (custom footer copy, formatting rules), written as one document Brew reads at generation time. Edit any line and every email generated afterward inherits it.
Everything about the file, including how to set it from an email you already like, is on Set a design baseline.
Image Style
Renders your brand’simage-style.md: the visual spec for any imagery Brew generates, covering palette, subjects, composition, lighting, and a list of what to avoid. Separate from your uploaded Assets.
See Set a design baseline for what the file covers and how to shape it.
Settings
For now, Settings holds one action: deleting the brand. Rebuilding after a rebrand (delete the brand, then add it again) is covered in Set a design baseline.Related
Add your brand
How extraction works, and how to upload an existing brand guide instead of starting from your site alone.
Set a design baseline
Make an email you like the default layout, globally or per email type.
Unsubscribe page
Customize the page subscribers see when they unsubscribe, and review reason capture stats.
Inbox icons
Display your logo or photo in recipients’ inboxes via BIMI, Apple Branded Mail, and per-client setup.
Multiple brands
Run more than one brand in the same Brew account.
Need Help?
Our team is ready to support you at every step of your journey with Brew. Choose the option that works best for you:- Self-Service Tools
- Talk to Our Team
Search Documentation
Type in the “Ask any question” search bar at the top left to instantly find relevant documentation pages.
ChatGPT/Claude Integration
Click “Open in ChatGPT” at the top right of any page to analyze documentation with ChatGPT or Claude for deeper insights.