Get Started
Introduction
Learn the basics of Brew and set up your account quickly
What is Brew?
Brew is an email service provider (ESP) with a self-improving AI system that handles the most challenging aspects of email marketing. Our AI designs responsive emails that match your brand, writes compelling copy that sounds like you, and applies proven strategies to drive opens, clicks, and revenue. Unlike static platforms, Brew’s AI system continuously learns from email performance, automatically refining its recommendations and content generation based on what works best for your specific audience. And yes, you can send email through Brew! You don’t need any other tools to make email your highest-ROI marketing channel. Read more about our story and mission here.No Cold Brews
- You can only email people who have given consent to receive them (no cold emails)
- Contacts must have opted in through your website, sign-up forms, or elsewhere
- This helps you comply with CAN-SPAM and other email marketing regulations
What you can do with Brew
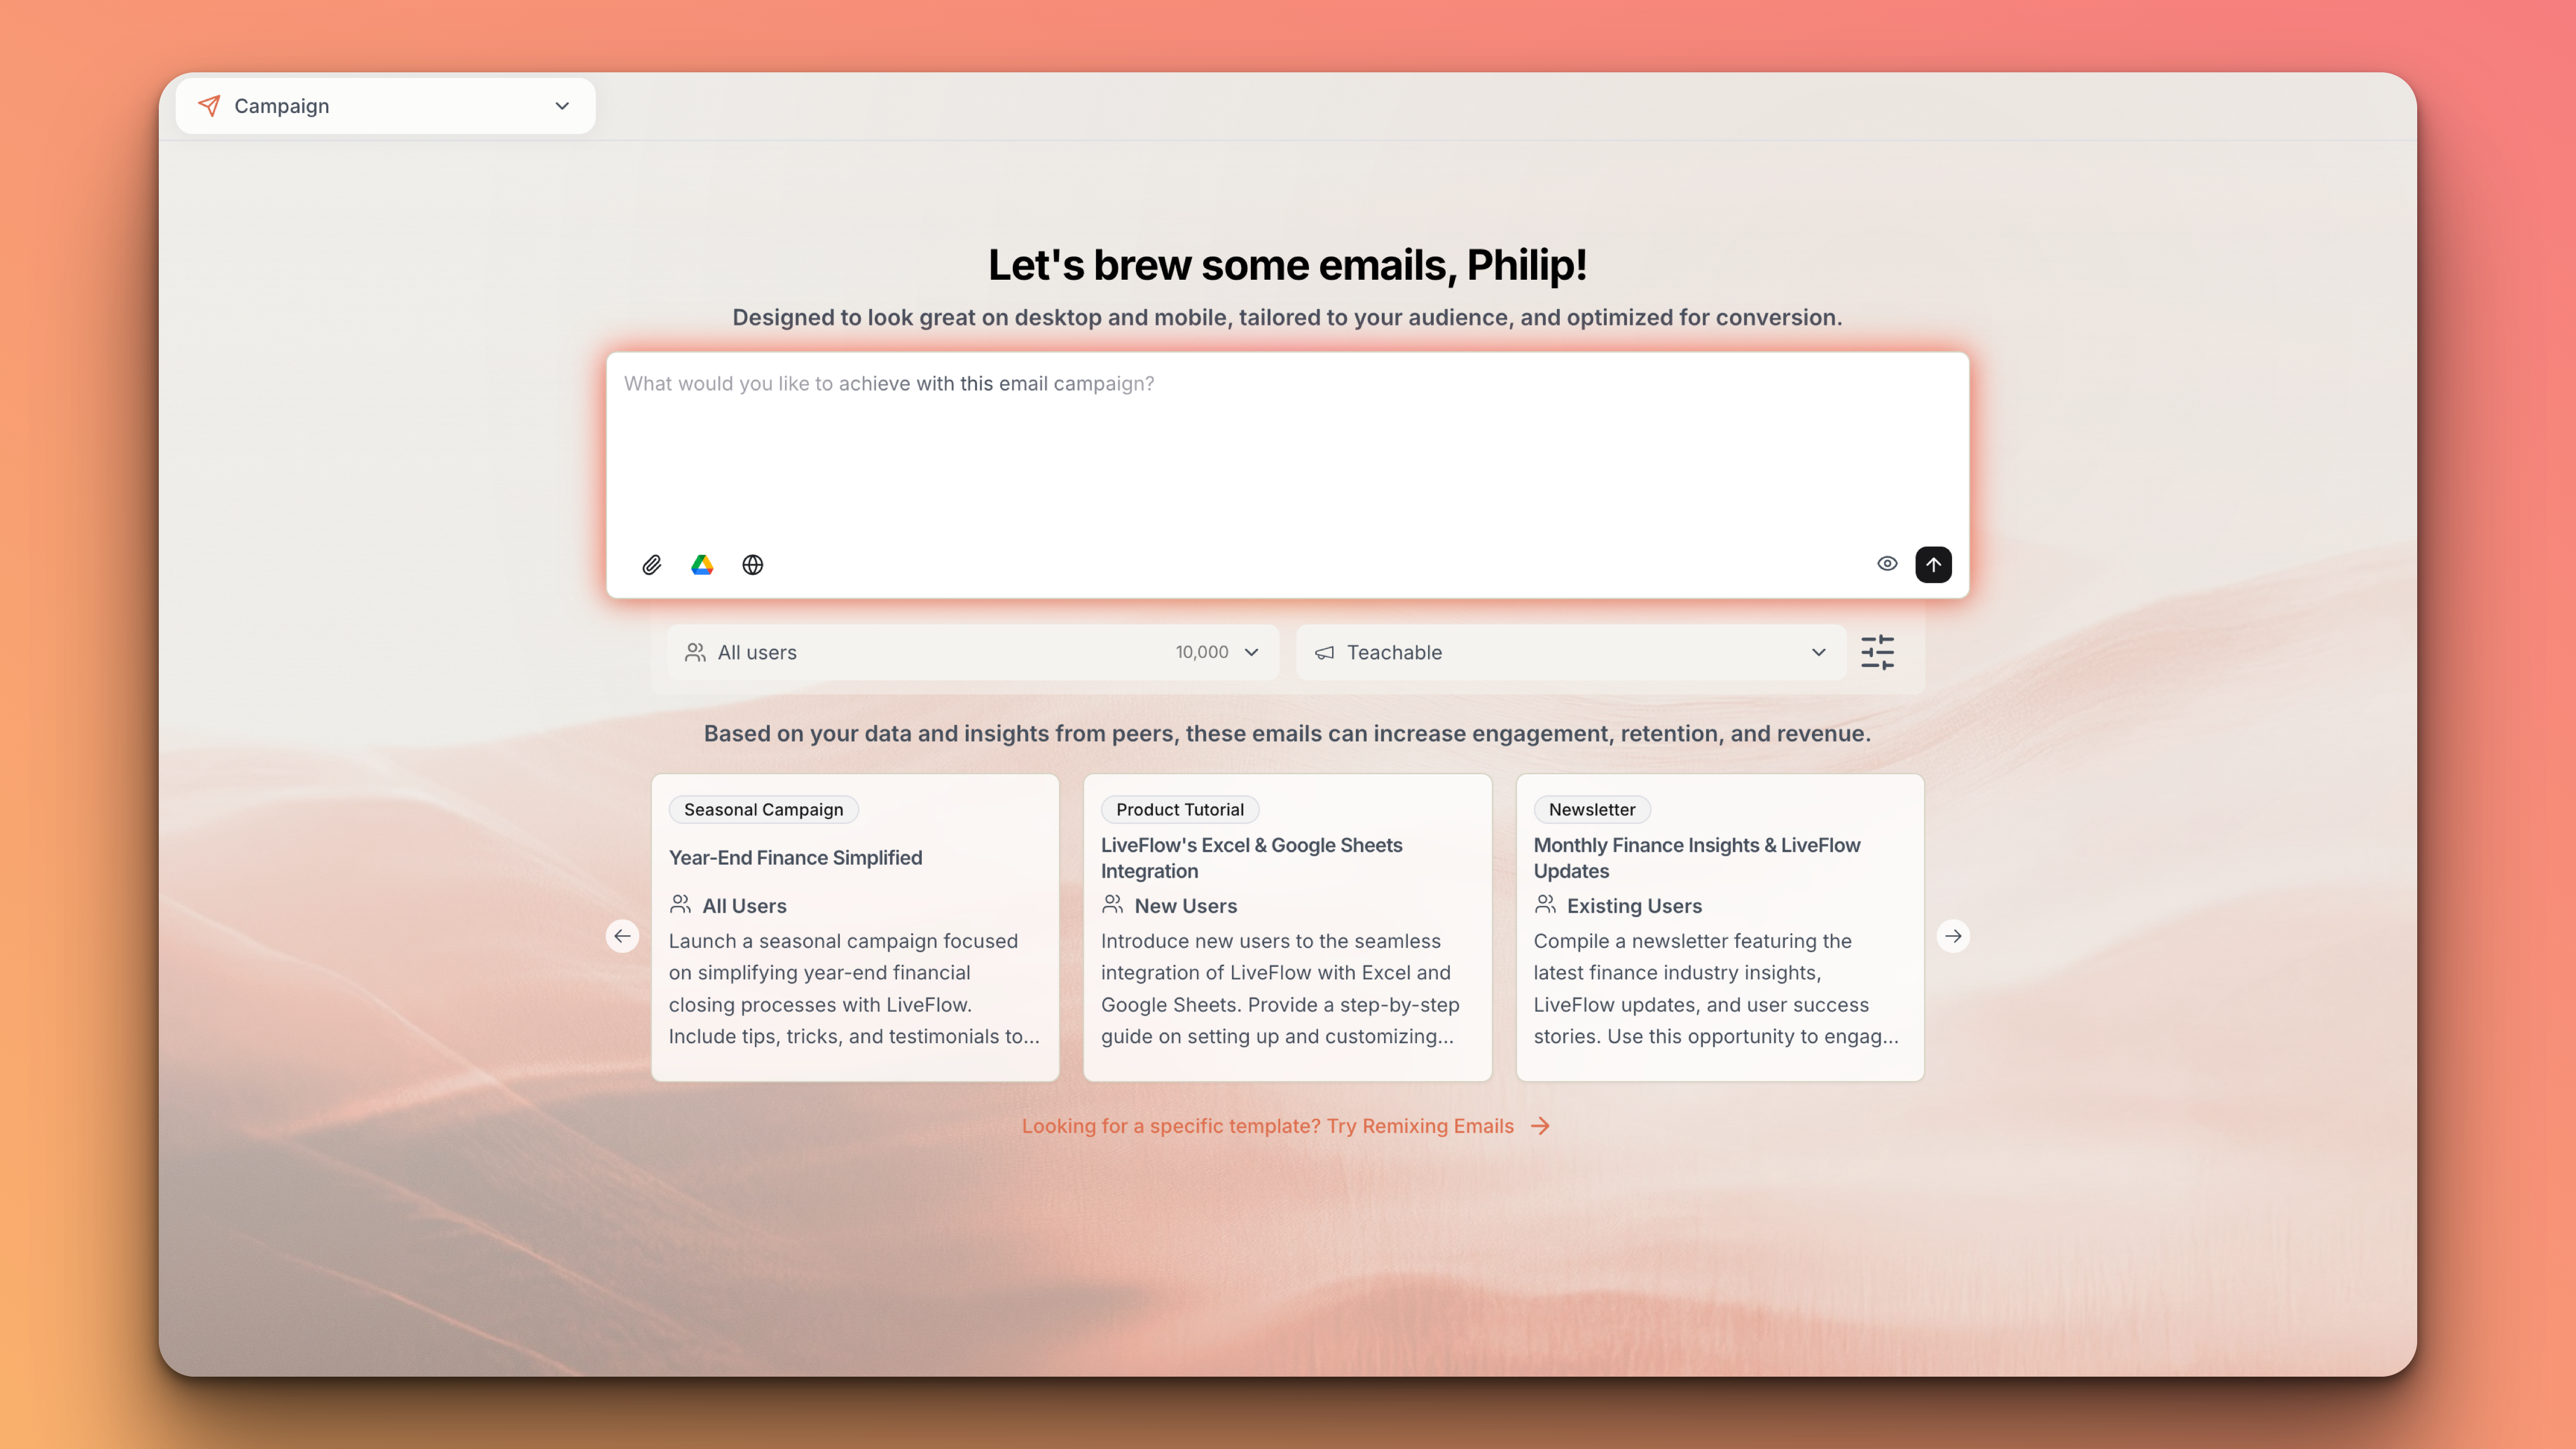
Create with AI
Generate emails and automations using AI that knows your brand
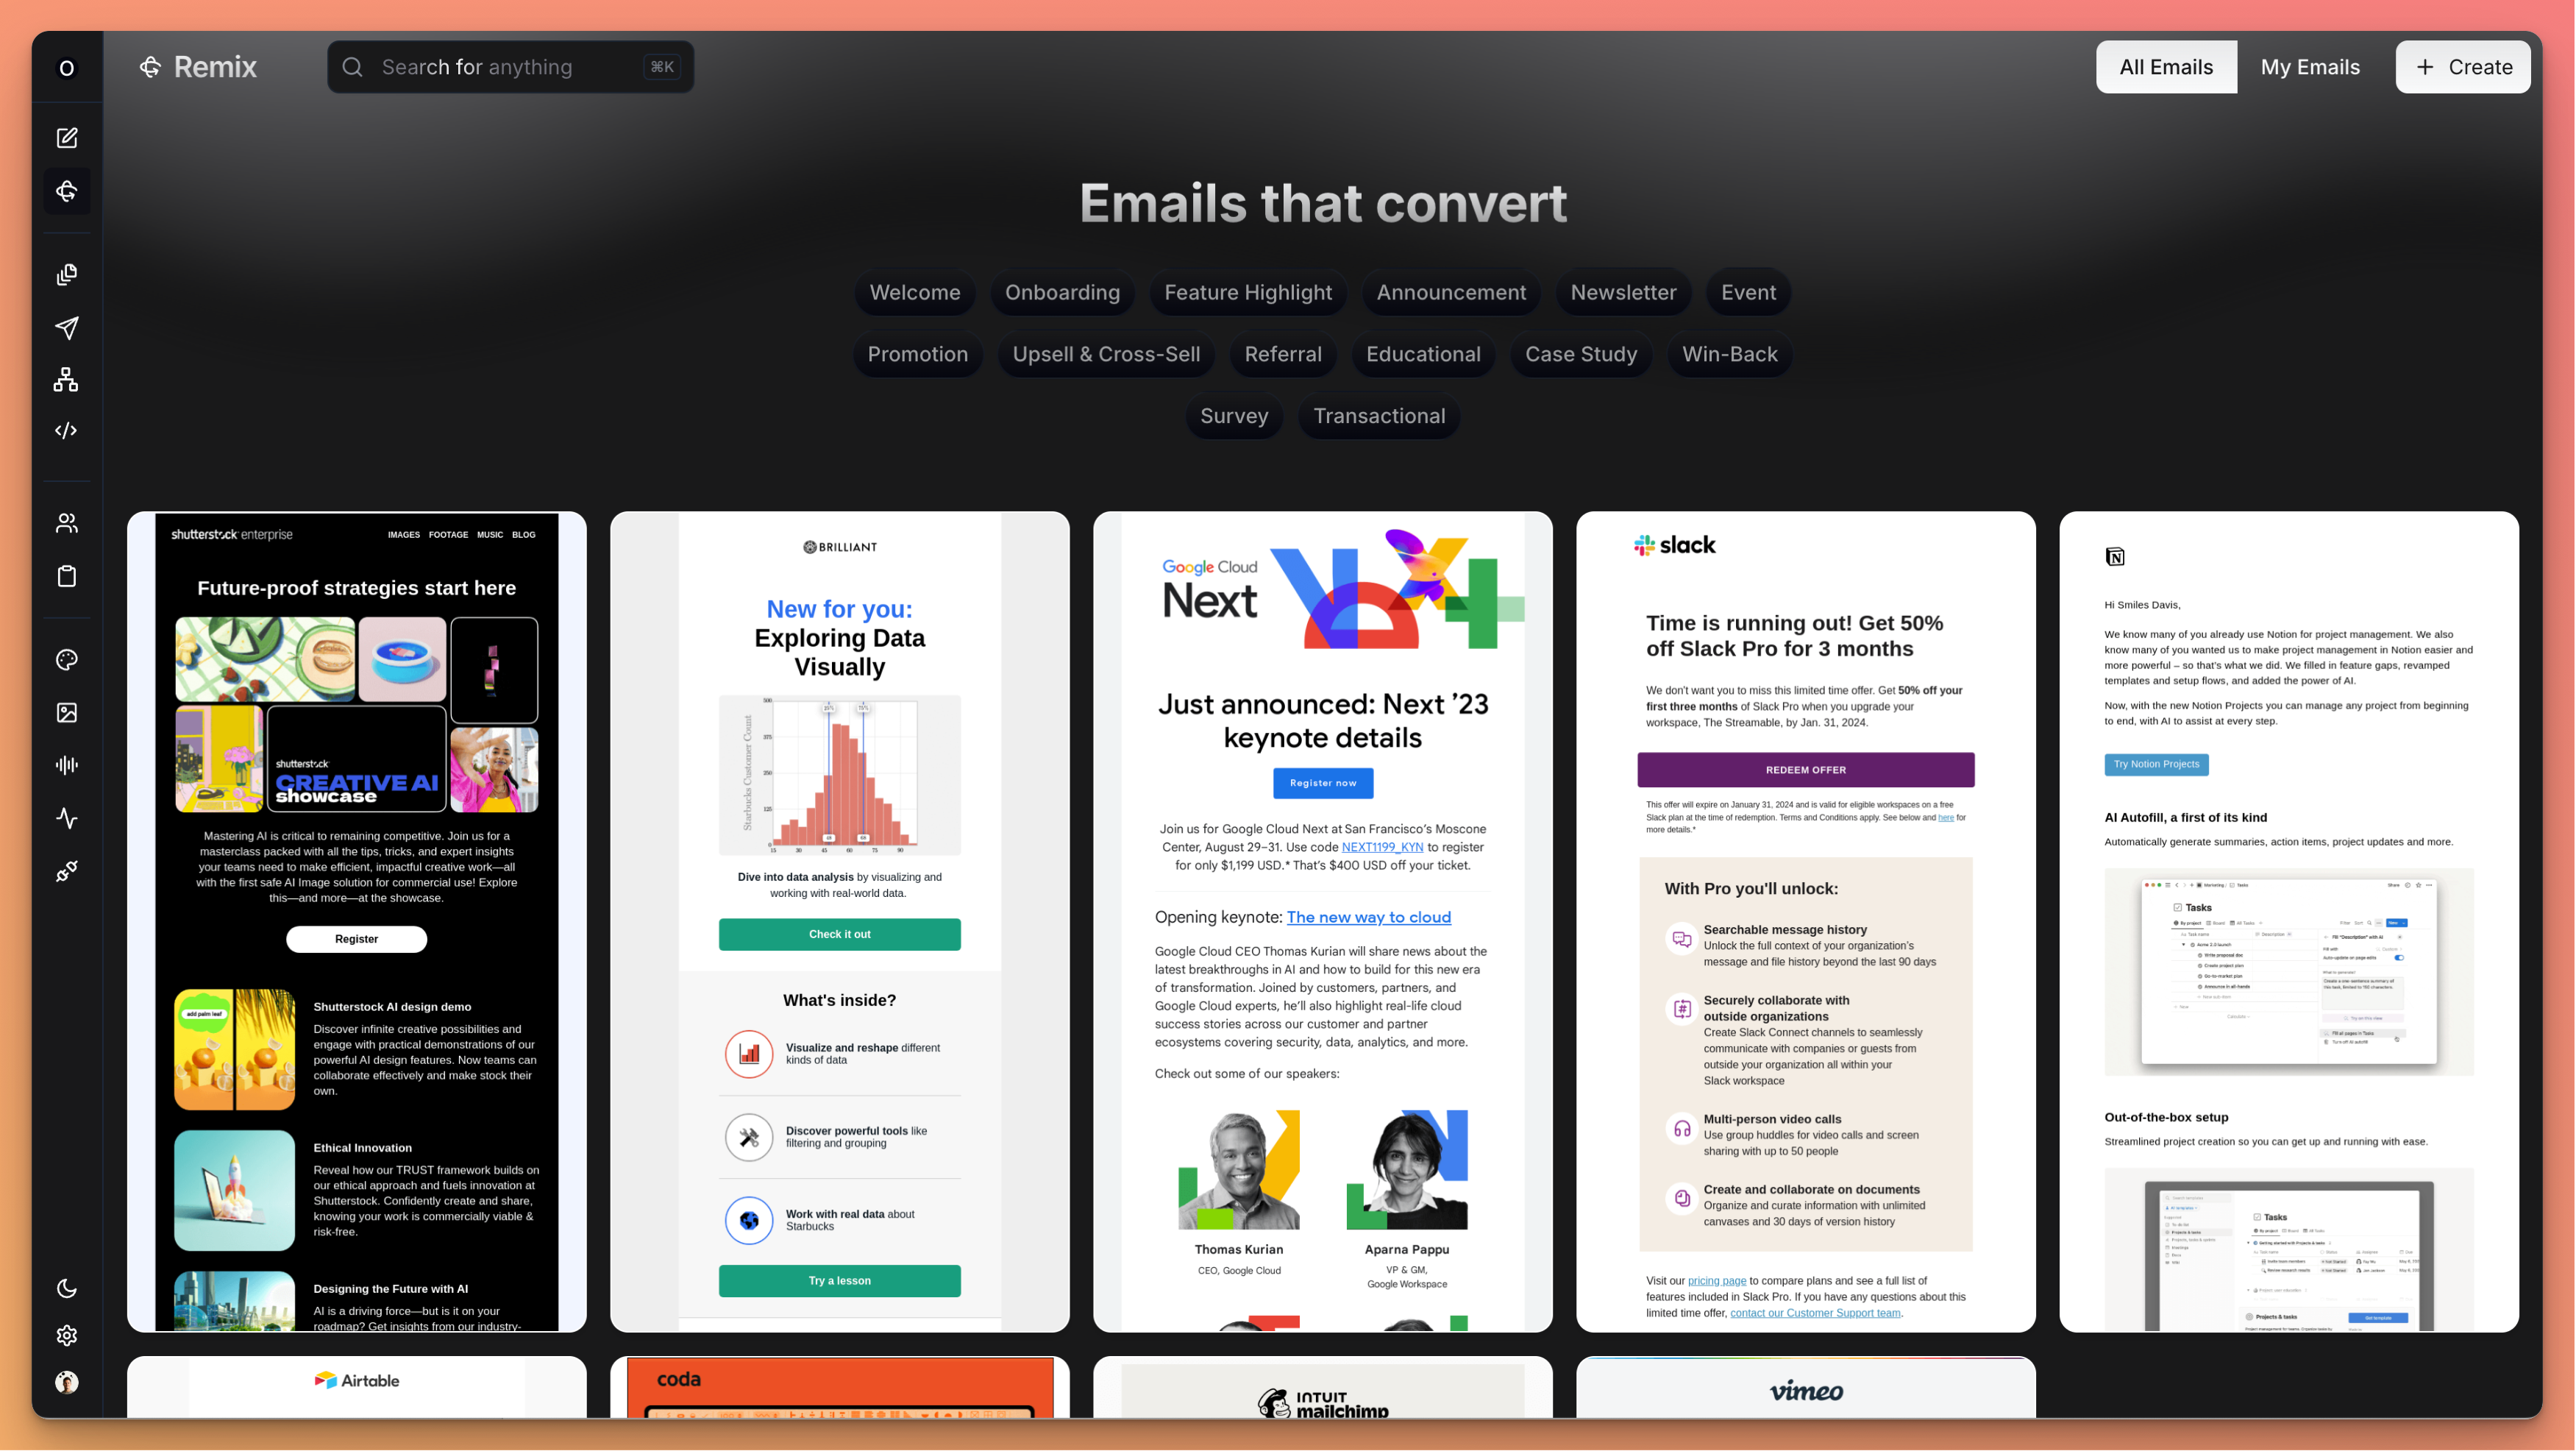
Remix Top Performers
Transform successful campaigns and automations into fresh content
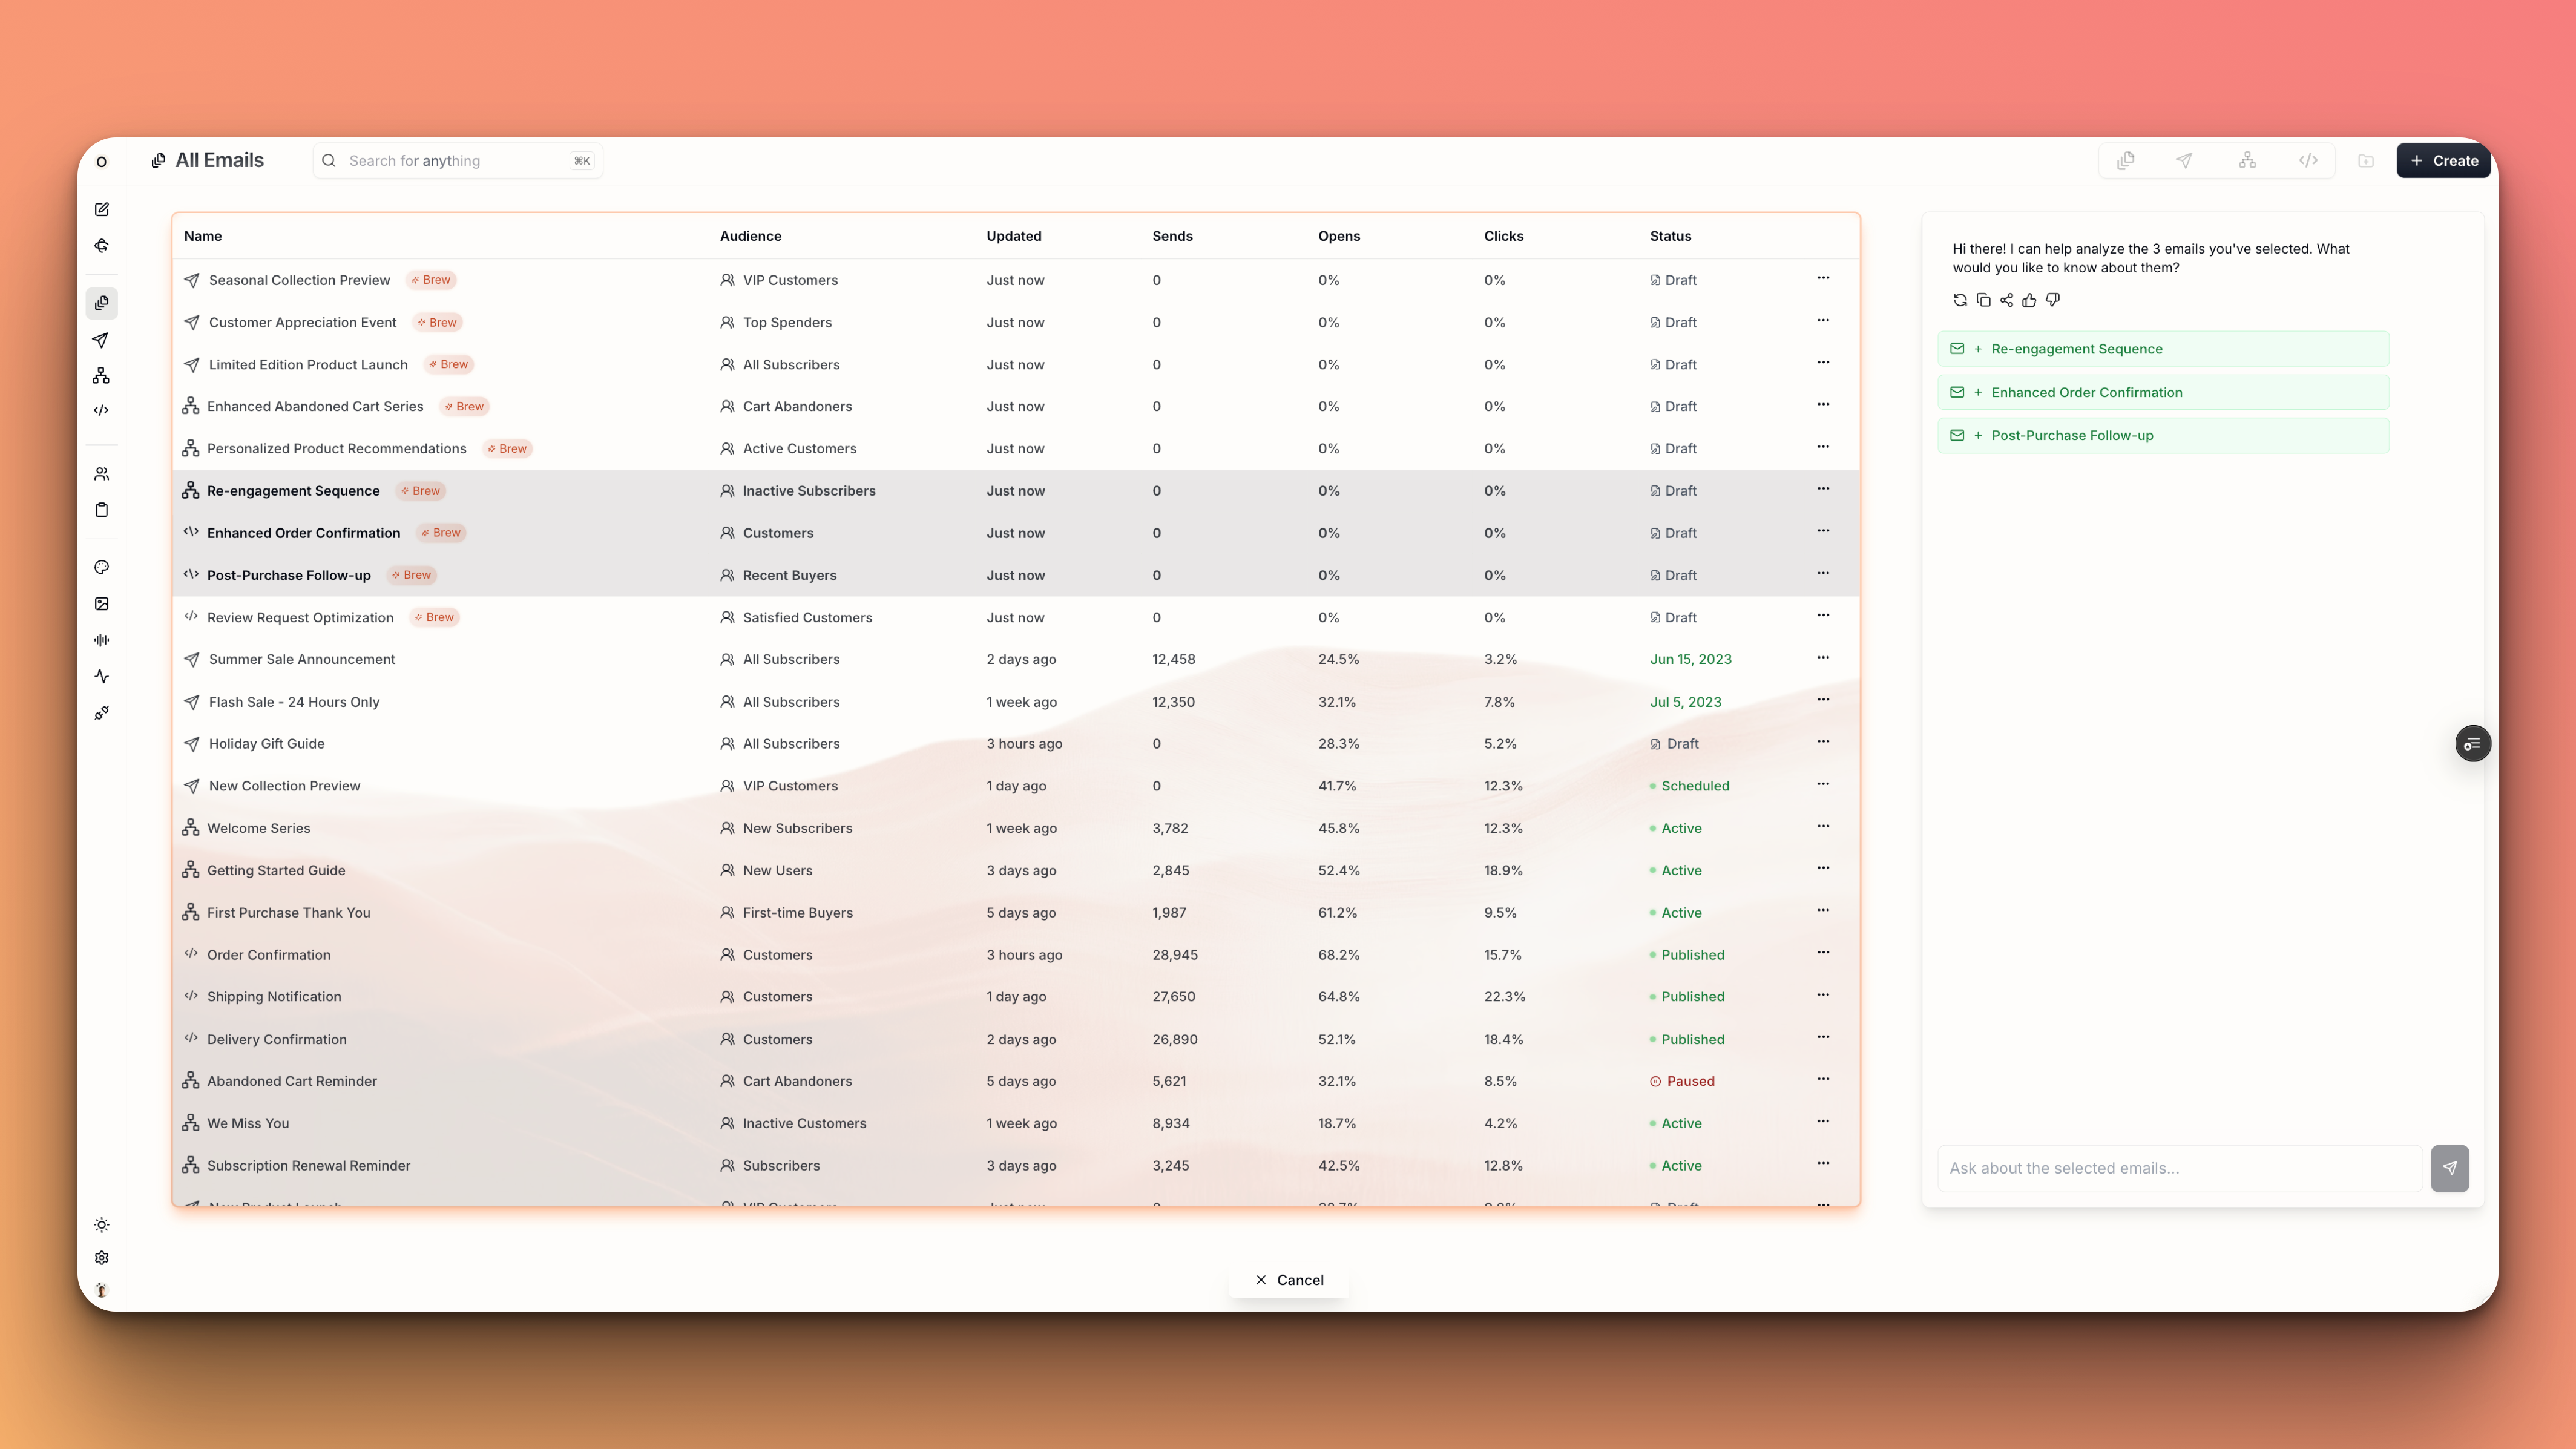
Ask AI
Uncover insights by analyzing your emails and automations with AI

Apply Proven Strategies
Get data-driven recommendations tailored to your brand
Essential Setup Tasks
Before you can send emails through Brew, you need to:1
Set your sending domain so emails come from you (2 mins)
Add the domain you would like your emails to be sent fromSet your sending domain →
2
Add DNS records to verify your domain and avoid spam folders (10 mins)
Configure your domain’s DNS settings to grant Brew permission to send emails on your behalfAdd DNS records →
3
Add contacts and create audiences to start sending emails (5 mins)
Import your existing contacts and filter them to create audiencesAdd contacts → and then Create audience →
Configuring Your Brand
To ensure your emails are consistently on-brand and accurate, we also recommend that you spend some time configuring your brand.During sign-up, Brew automatically creates your initial design system, brand voice, and knowledge base by analyzing your website. While this gets you started immediately, we recommend reviewing and enhancing these elements for the best results.
Set Design System
Upload logos, set colors, and choose fonts that match your brand identity
Add Voice
Train Brew on your brand voice, or pick one inspired by email marketing leaders
Upload Knowledge
Share your homepage, FAQs, case studies, and more for accurate emails
Create AI Image Styles
Define custom AI image styles that match your brand aesthetic
Keyboard Shortcuts
⌘K / Ctrl+K
⌘K / Ctrl+K
Open global navigation from anywhere in the app to quickly jump to any part of the app or directly to specific emails, automations, or contacts without clicking through menus
Need Help?
Our team is ready to support you at every step of your journey with Brew. Choose the option that works best for you:Search Documentation
Type in the “Ask any question” search bar at the top left to instantly find relevant documentation pages.
AI Assistant Chat
Click the sparkle ✨ icon next to the “Ask any question” search bar in the top left to chat with our AI assistant that’s been trained on our entire documentation.
ChatGPT/Claude Integration
Click “Open in ChatGPT” at the top right of any page to analyze documentation with ChatGPT or Claude for deeper insights.